IDEA GENERATION – MIND MAPS AND MOOD BOARDS
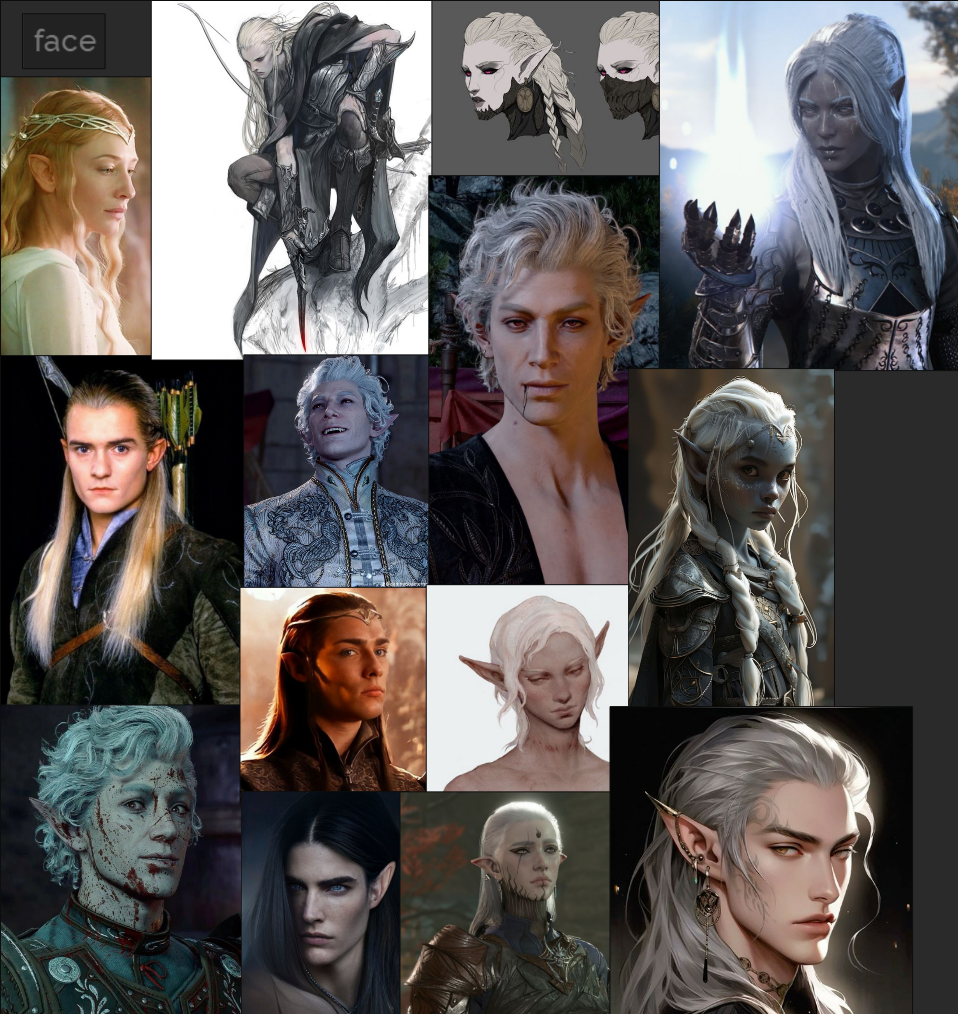
character poses
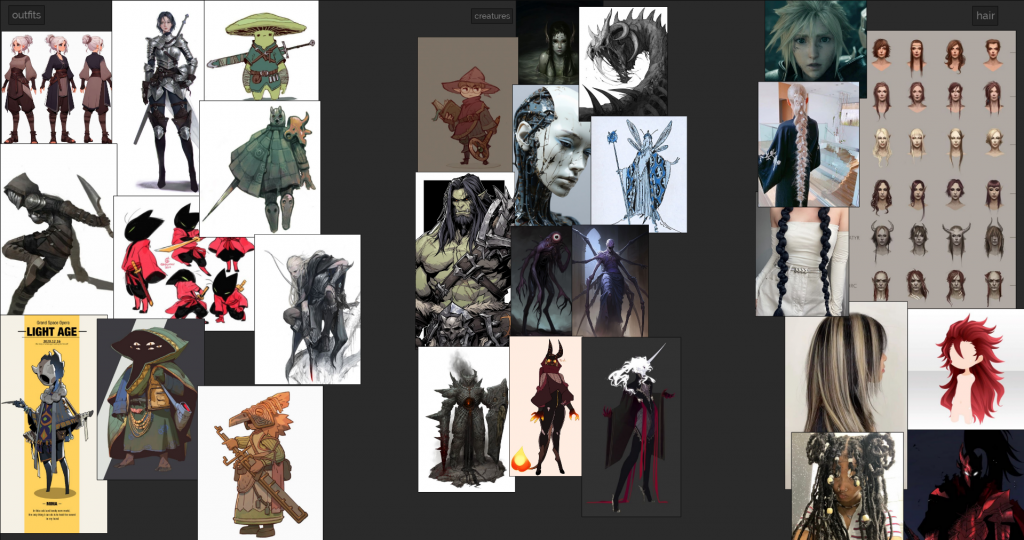
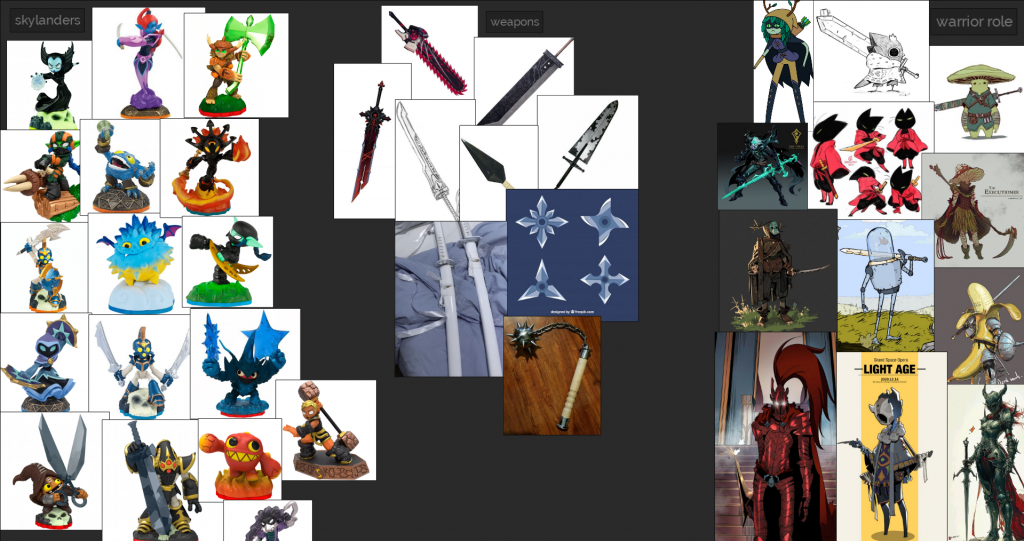
in this mood board I added image is thought would be good to use as a reference for my models pose. out of all the images I looked out I found that I took a liking to the poses used for final fantasy characters.
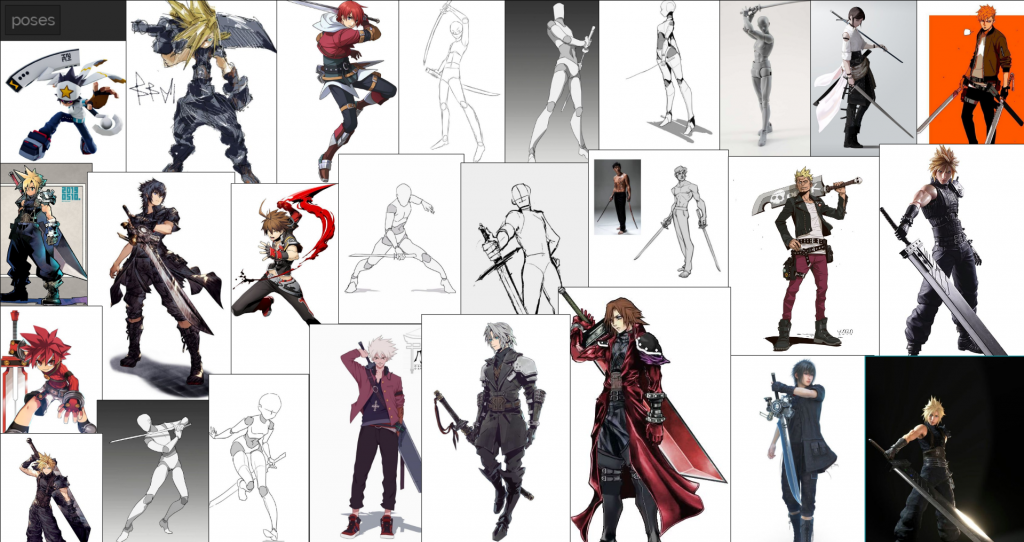
character references.
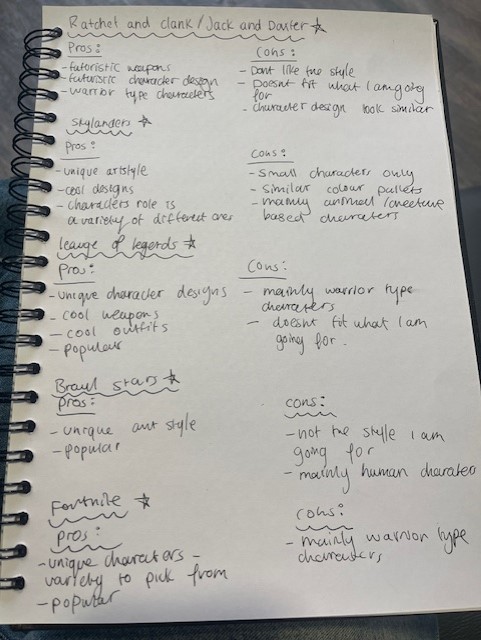
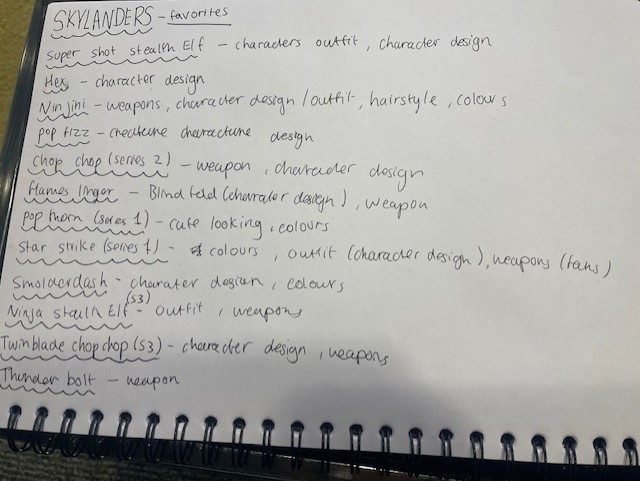
in this screenshot I went into detail about the characters I will be using as a reference for my character.
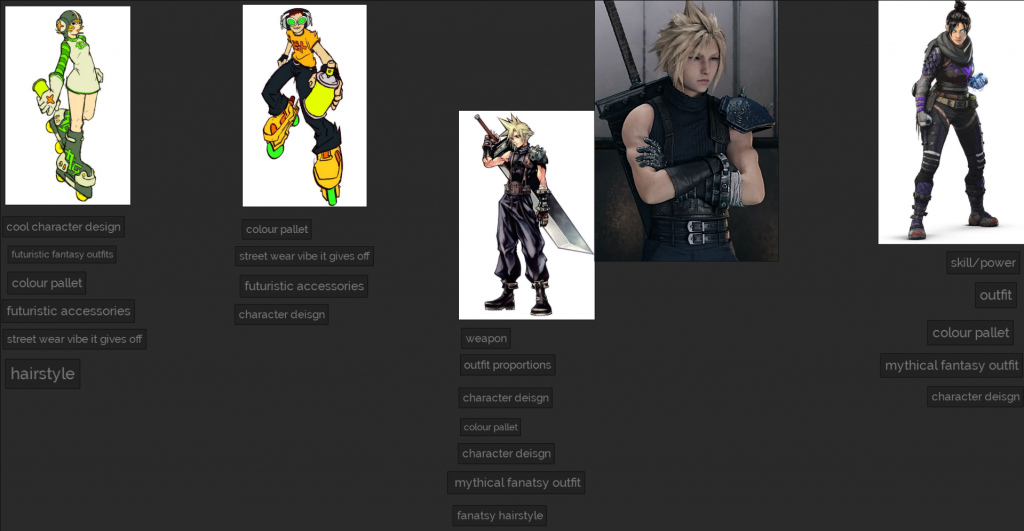
here I listed what I liked about each character.
character plans
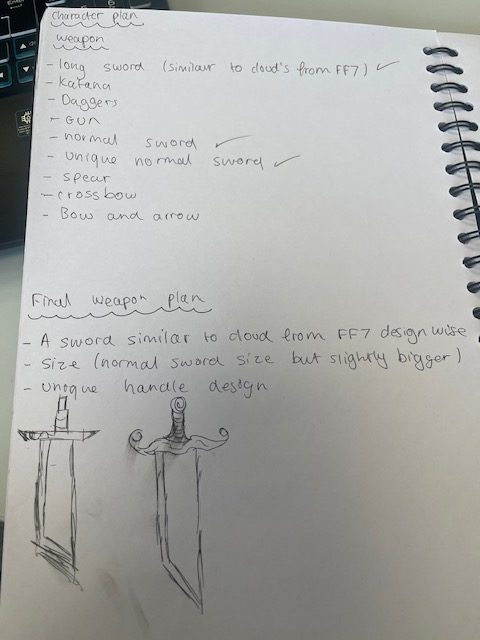
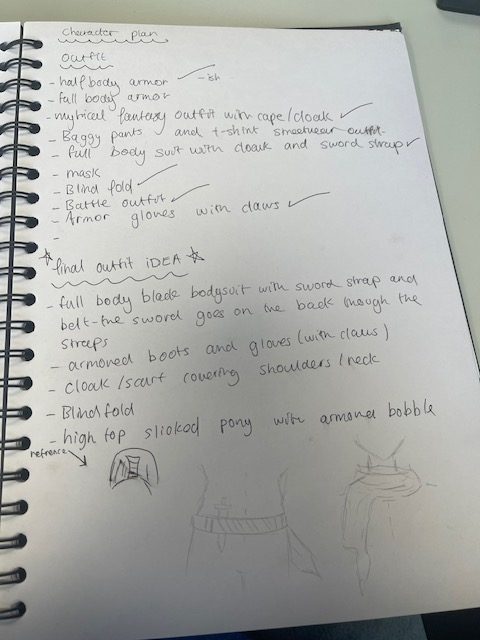
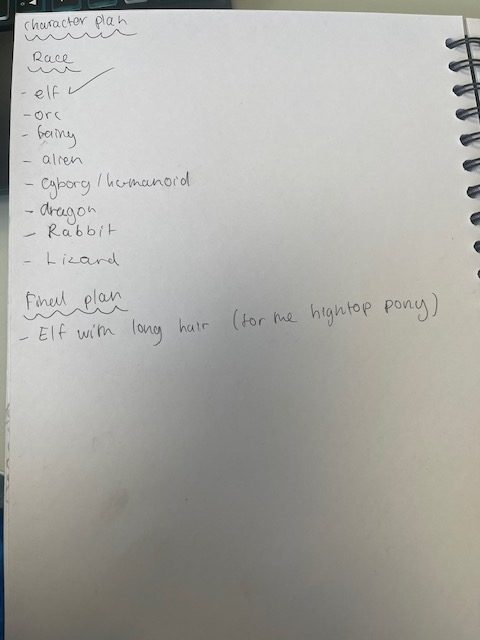
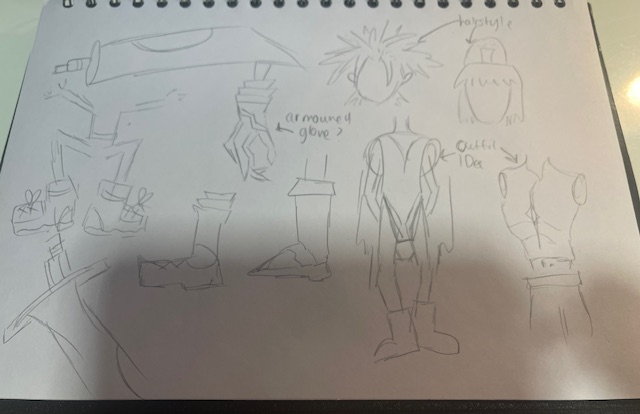
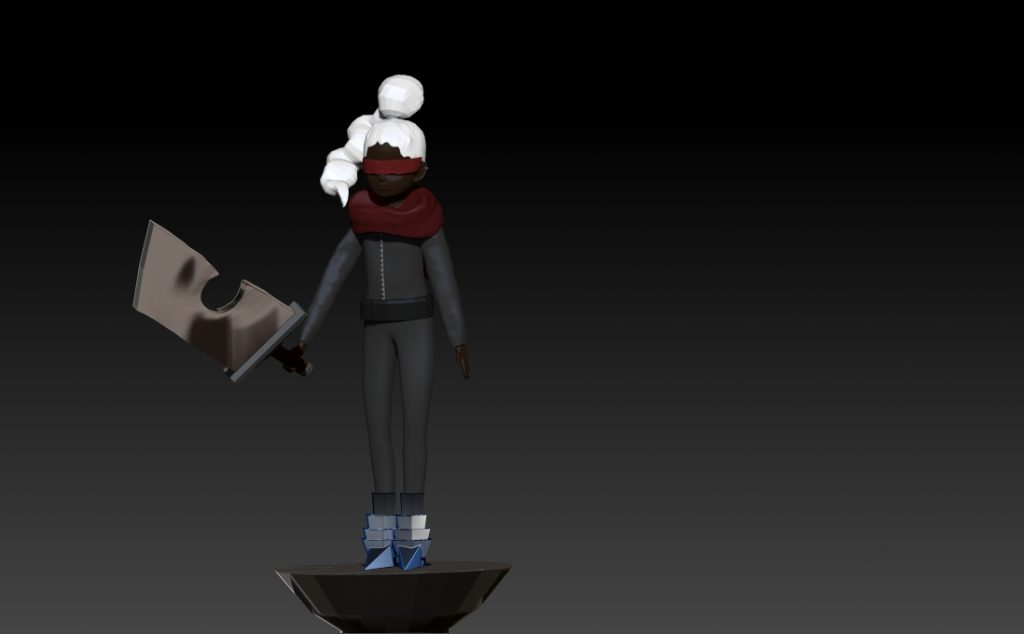
below are some pictures of me narrowing down my character plan ideas to get a final idea on what my characters appearance will look like. I decided to go for a character in full black body suit with a sword strap/belt with the sword on the back, a cloak/scarf covering the shoulders/neck, armoured gloves (claws) and armoured boots, with a black blind folds and for the hair a high-top ponytail with an armoured type bobble.
SKETCHES
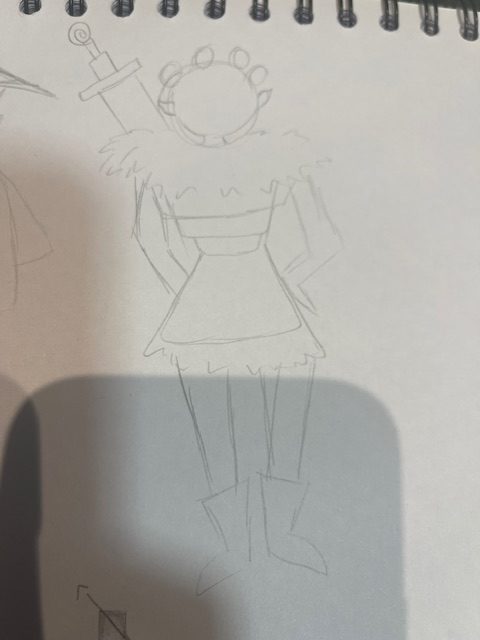
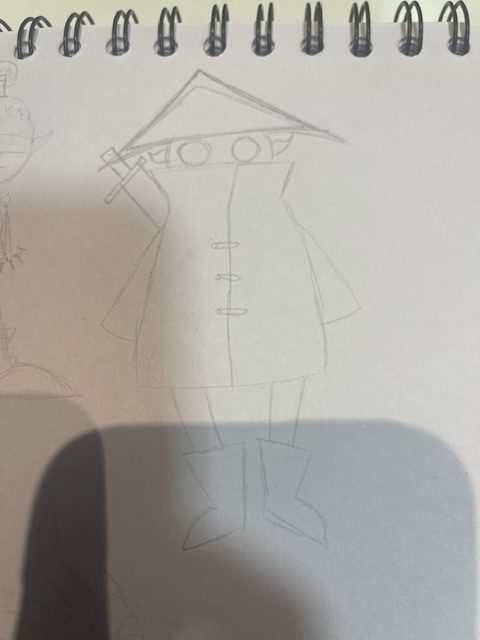
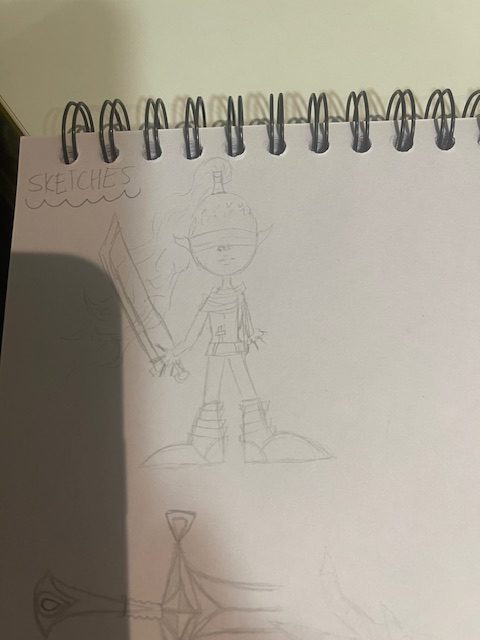
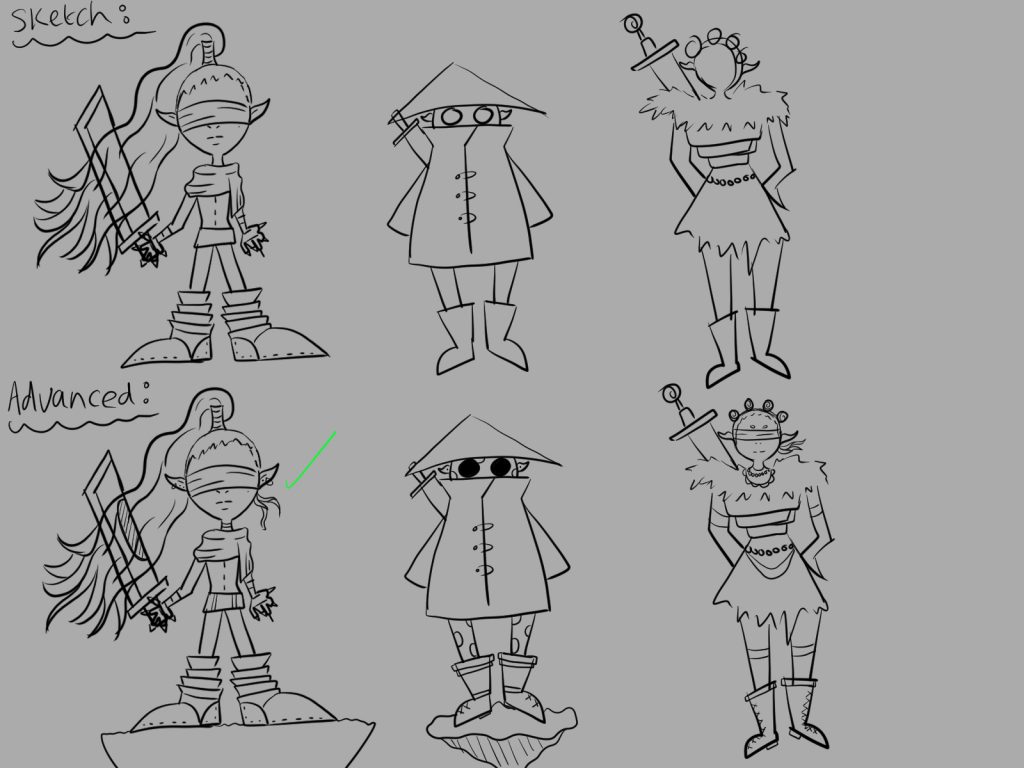
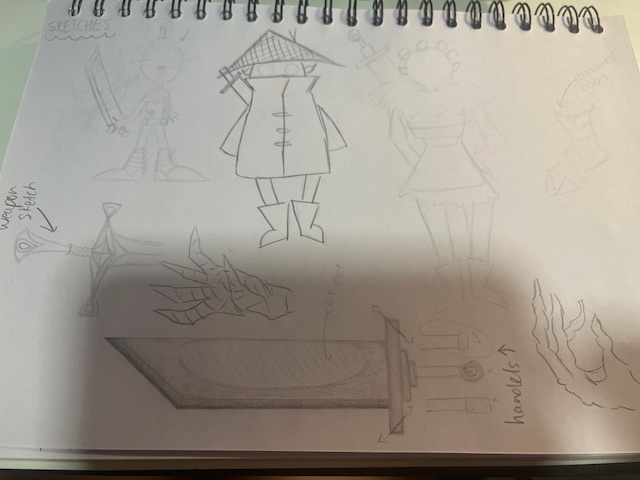
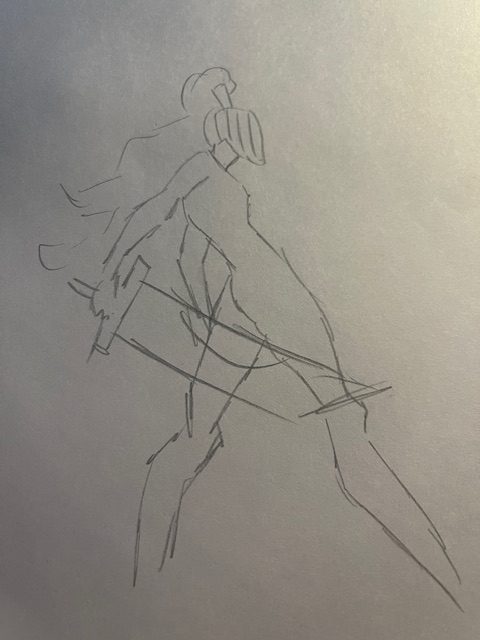
Before choosing a silhouette to take into further sketching, I decided to hand draw 3 silhouettes of my choice and further them. and out of the 3 I thought the last one fit what I wanted to for for more.
weapon design
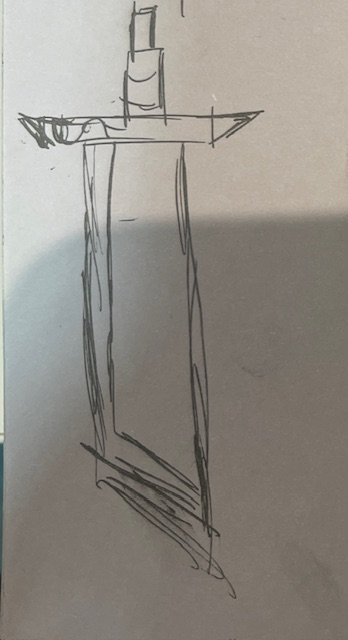
initial design – this design was just a quick sketch of my idea at the moment.
Advanced sketch
In this sketch I furthered my previous sketch coming up with more unique ideas on how I could re-design my first sketch . things like cutting out a part of the sword to make it more of a fantasy weapon.
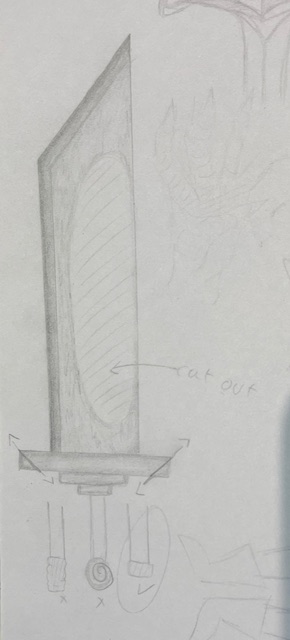
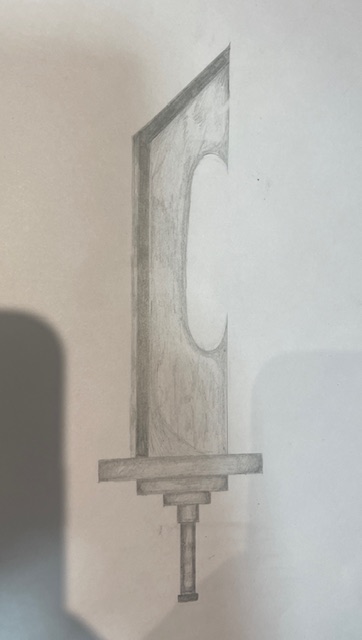
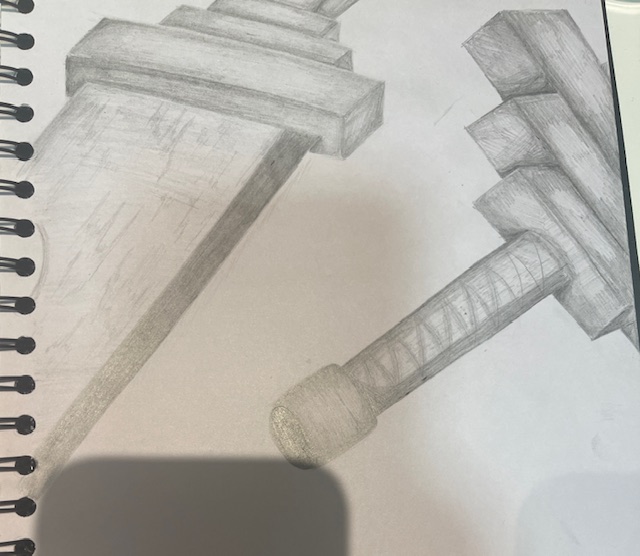
Final weapon sketch
Experimental sketches
These sketches are experimental sketches I did to get a better idea on what I wanted to design for my character whether that being new accessories to add onto the character or the weapon design.
Character blockouts
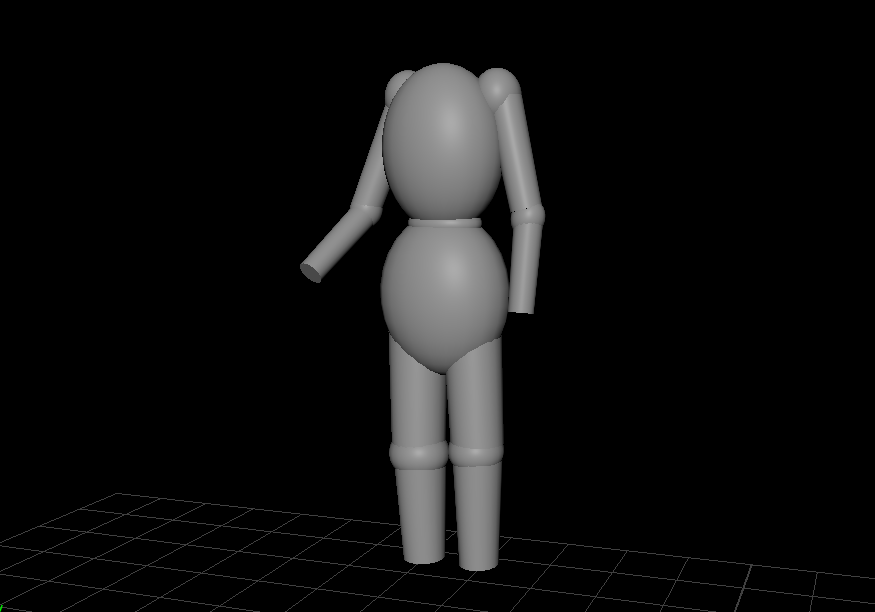
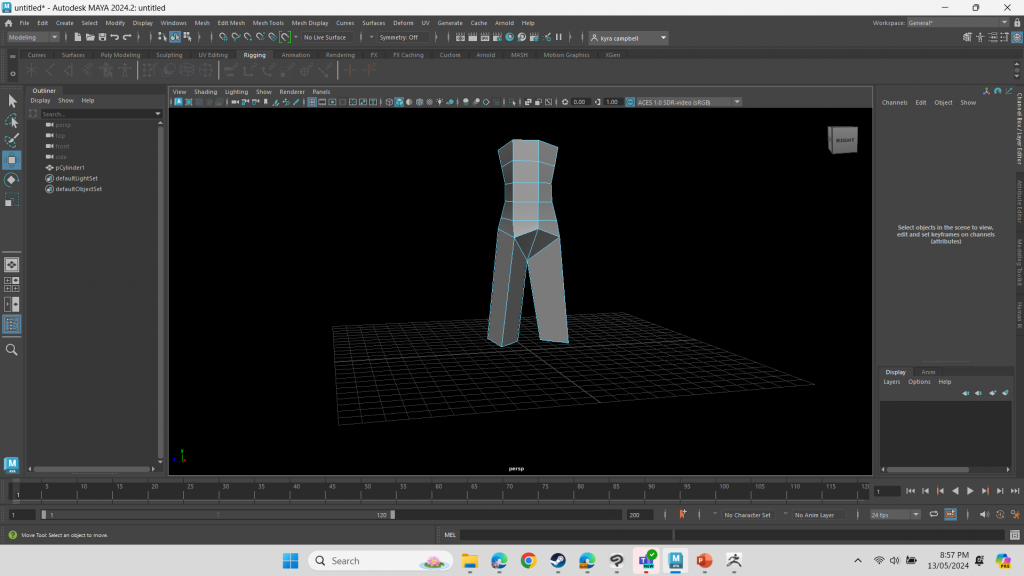
Before achieving my final blockout, I firstly did some test blackouts to see how I wanted to approach this model. this is because this models size would be completely different from any previous character model I have done as it is a very miniature character. so before doing the actual blockout, I did some test blackouts. the first one I did I built the body using different parts ( a sphere, a cylinder etc) but I found that to be difficulty when wanting to adjust the size of things like the legs because , if I wanted to adjust the size of one thing I would have to do it with the rest therefore I found this wasn’t the correct approach. the second blockout I did I found that if I went in with one shape and extruded the faces to create things like arms and legs then increased the amount of faces and began modelling from there I found to be much better than the first idea I had therefore I decided to use this method and re-do it better to create my final body blockout.
Sculpting my character

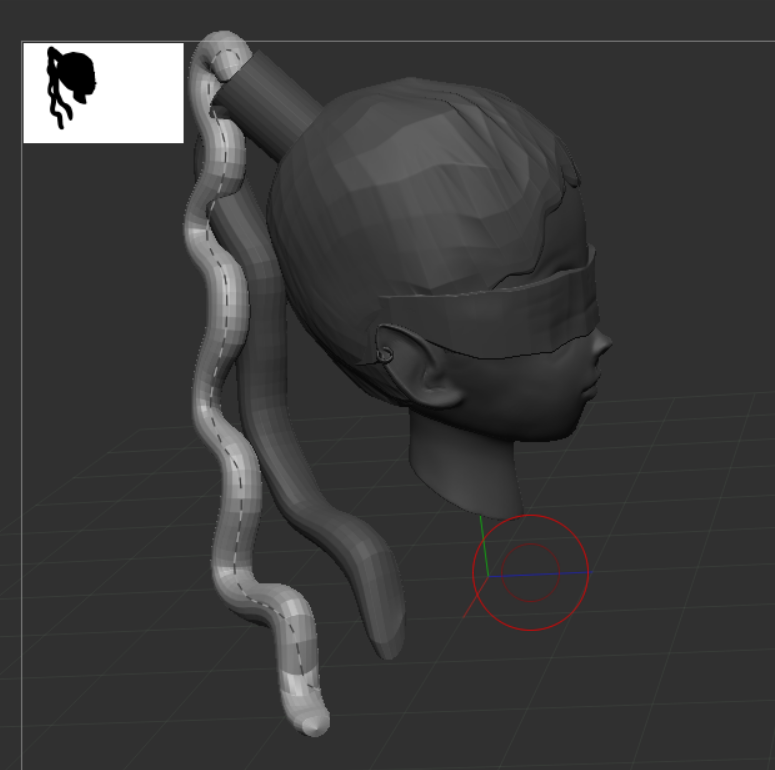
For one of the features such as the hair, I didn’t want it to replicate how hair would look in your average video game. I wanted it to look similar to how the hair is designed in Skylanders as it is the IP I am basing my character off. to achieve this I will be sculpting my hair in a blocky way ( no strands) to make it look as close as possible to how Skylanders hair would be designed.
the first test I did at doing the hair didn’t really look good in my eyes, therefore I re-did it so it fit what I wanted to go for better.
sculpting
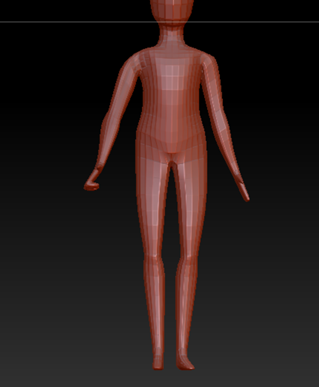
Once I did the block outs I then began sculpting parts of my character separately but first I did start with sculpting the body as it was the first thing i finished.
modelling hair
MERGING MODELS
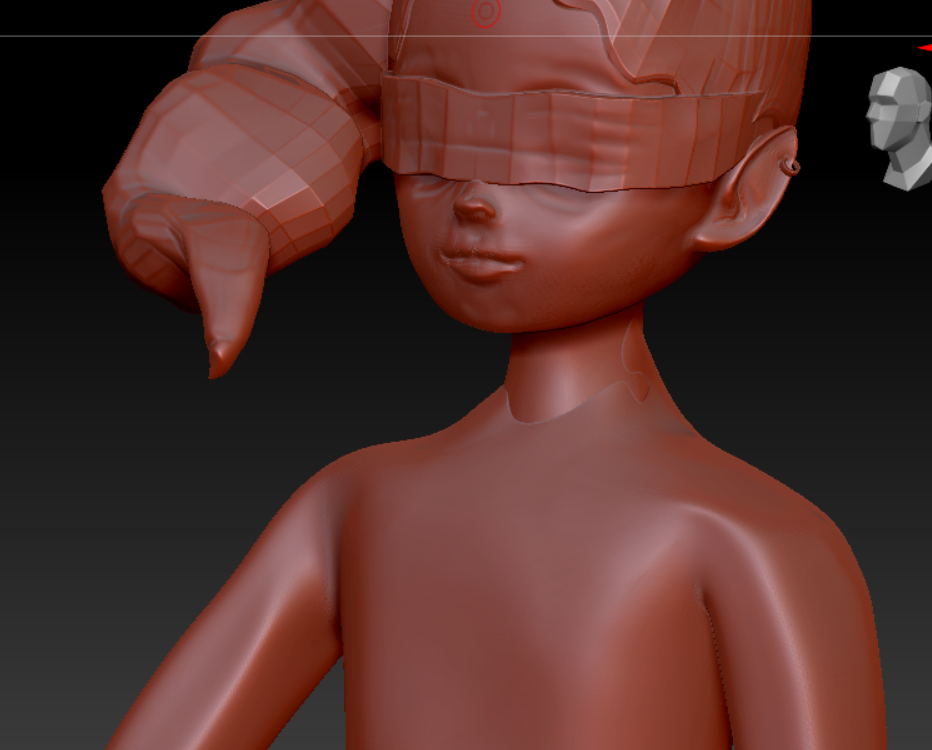
After finishing the modelling and sculpting of the head I then merged it with the body model. I modelled and sculpted in parts as I felt it was much easier than doing it all in one.
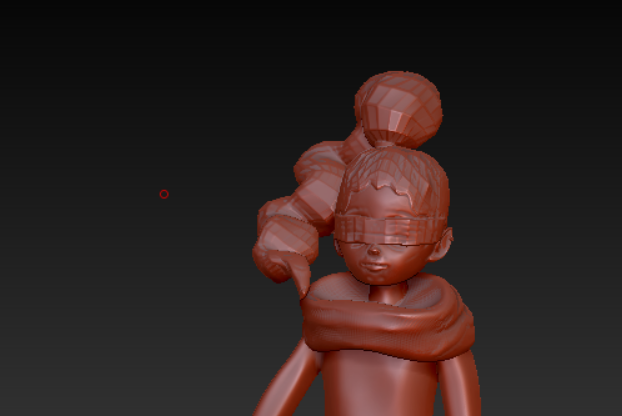
I began merging the smaller things like the scarf.
Tweaking model
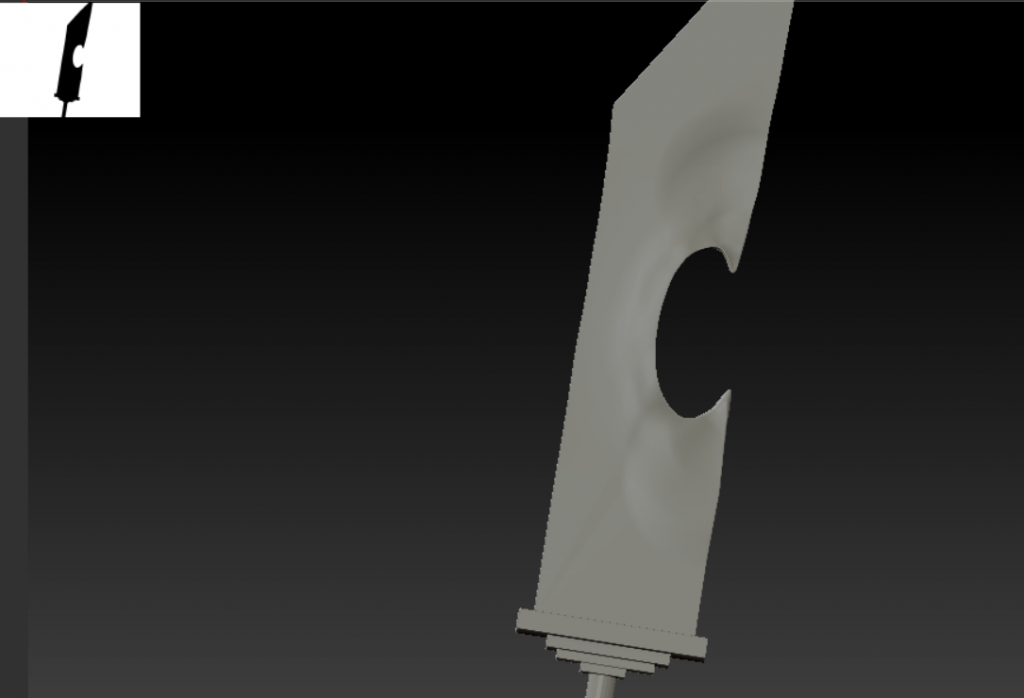
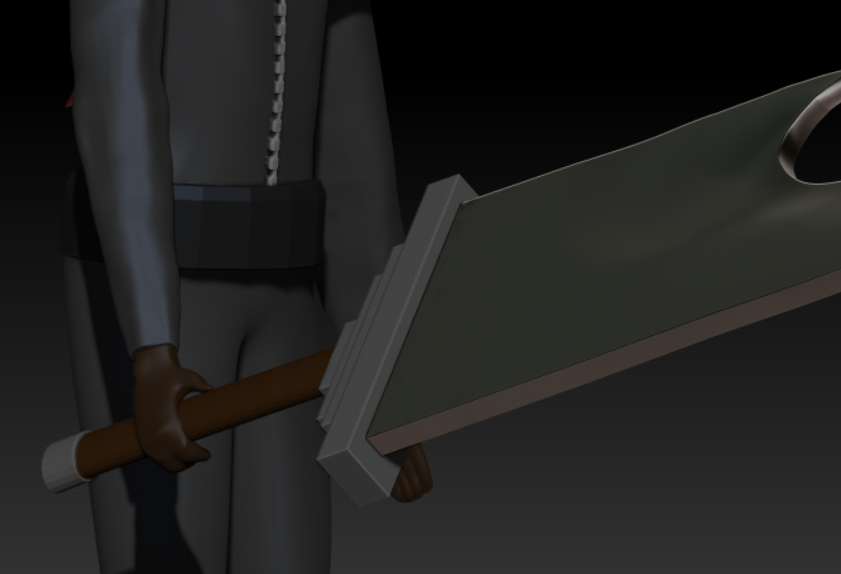
Because I had to re-do the sword total of 4 times In maya, I decided to just re do the full thing in zbrush which worked out a lot easier.
Colouring
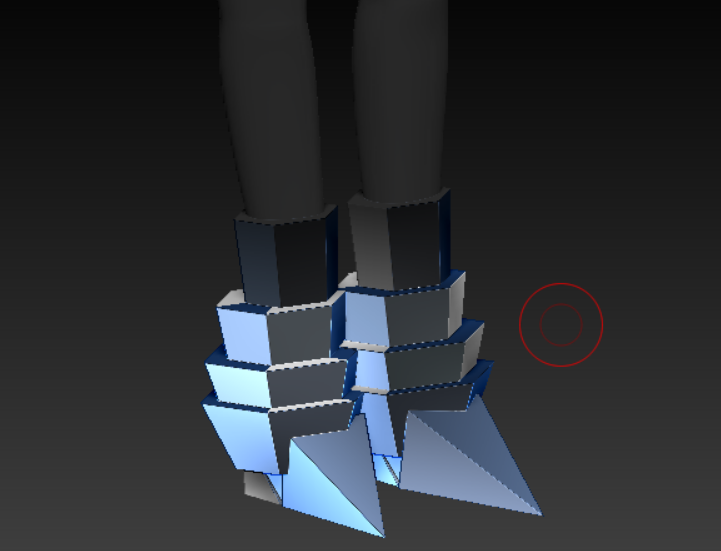
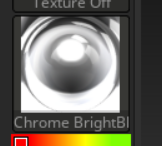
To make the boots of the character, I decide that simply painting it on substance painter would bring out what I want the boots to look like . so , after doing some research on how to get a chrome like effect on the boots I found that if you used texture painting /poly-painting on zbrush you can achieve this look. and the outcome is just what I wanted it to be . I was trying to go for a look that resembles armour so I think it looks really similar an dim pleased with the result of it.
Final Model – rendered ( extra images)
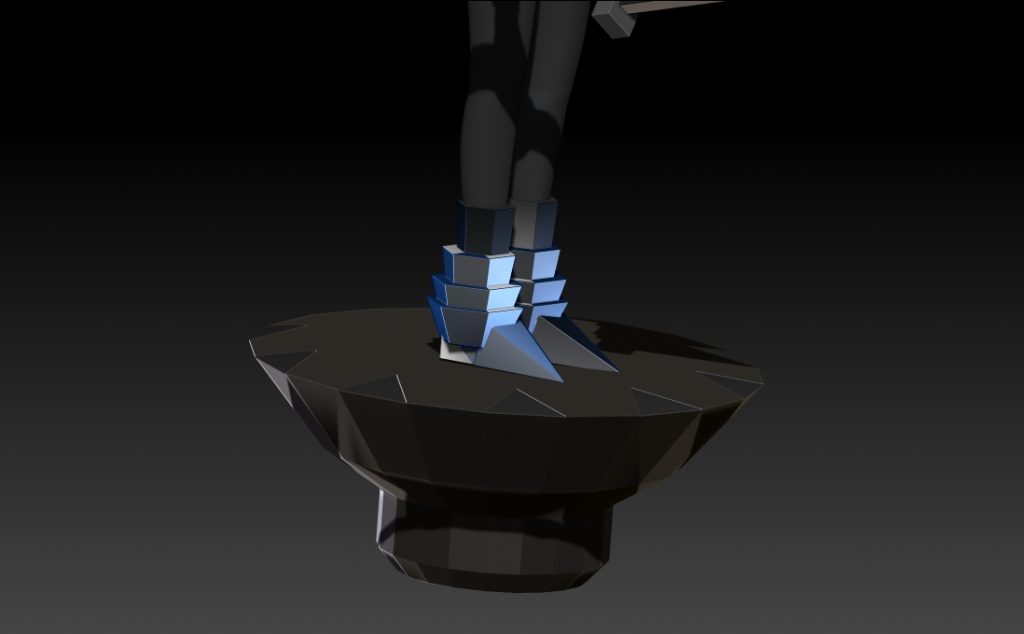
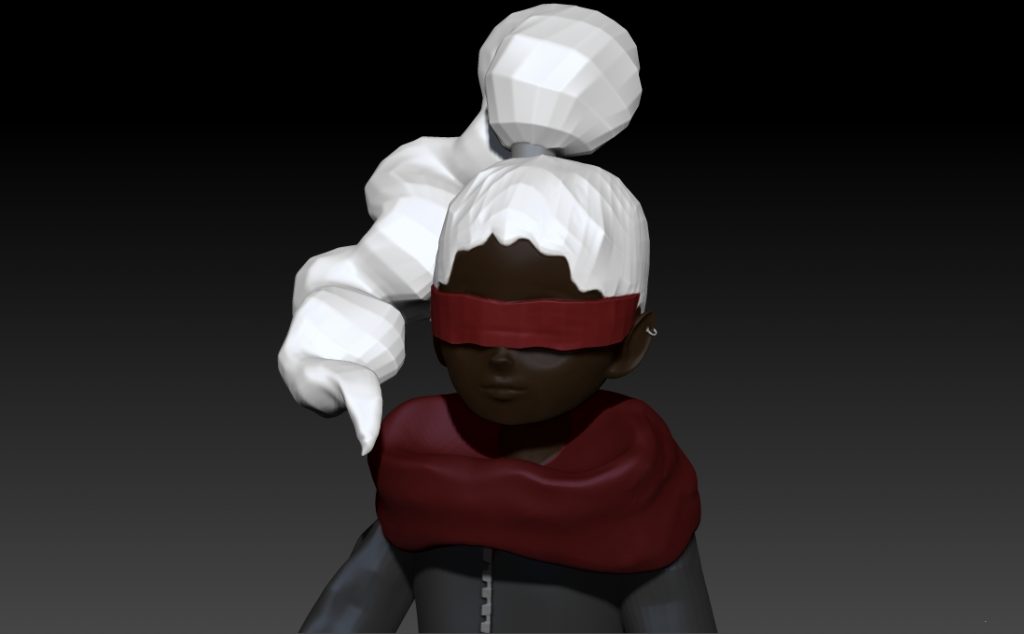
Animation process
RIGGING
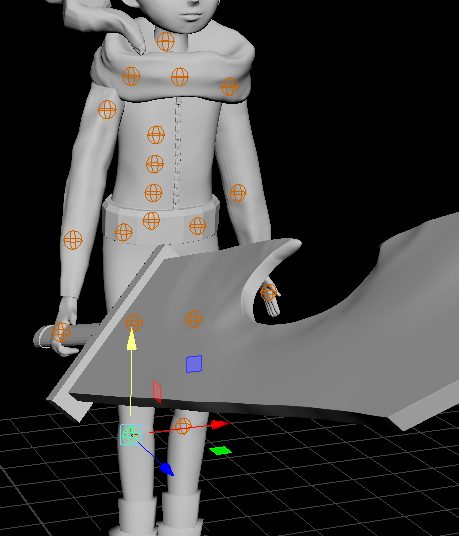
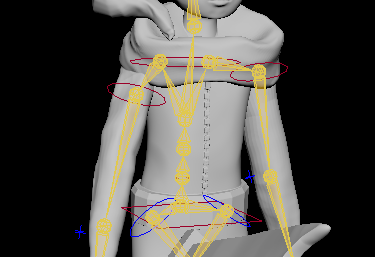
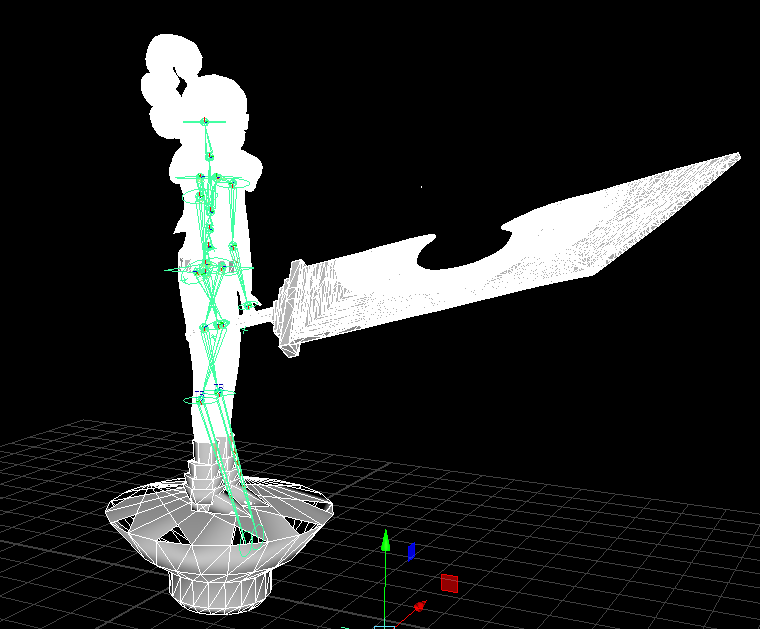

I needed to rig my character for the animations to allow full movements for all the limbs of my character. Then I went in and animated the movements using key frames in maya. I animated it with 200 fps (68 keyframes) to make sure it wasn’t too fast.
SELF REFLECTION/EVALUATION
Changes made
In my initial idea for my character animation I had gone for a sword inspection idle animation . but as the project was getting closer to the deadline and I realised I wouldn’t of had enough time to slowly and carefully do this animation , I decided to go with a more simpler animation which is the sword slash.
Comparison
My final model
a Skylanders model

If you look at the comparison of my model and an ordinary Skylanders model, you can see the clear differences . with my model I wanted to achieve something similar to a Skylanders model and even though I am happy with the end results I still feel there was a lot I could of done to make it similar to my IP . for example, I could of most definitely used a more vibrant colour pallet for my model to make it stand out a bit more but because I was going for the character I was going for with the whole backstory etc, I decided using a darker colour pallet would make my character look more mysterious . but after looking at the final result and comparing the two, I realised I should of at least used a bit more colour. I also think for the pillar which the character stands on, I could of added a lot more detail because if you look at the Skylanders model, you can see even the pillar has somewhat a lot of detail on it . I also feel like if I had managed my time wisely I could of added more detail to it to make my model as a whole stand out.
Feedback
At the beginning pf the project, I had pitched my idea for my model and the character design to a group of my friends and I got a lot of different feedback from them. ( as this discussion was done in person I have no photographic or written evidence for it). the most common feedback I received would have to of been add more accessories to the character . which is why in my final model you can see the character has piercings . But, I feel like I could of definitely added a lot more to make my character stand out.
Leave a Reply